PoE Deadeye Storyline Build Guide in 3.23 Part 1
Path of Exile 3.23 has been available for some time now and attracted many players. As a new one here, how can we efficiently go through PoE's storyline as a Deadeye player to enjoy 3.23? This message is a guide that aims to analyze in as much detail as possible what Havoc (a famous Deadeye player) does and why so that more players can watch and understand Havoc's playstyle and improve their comfort level of playing Deadeye in PoE 3.23.
Hillock
As is known to us, the bow has a long-distance advantage. When facing Hillock, the first boss of PoE, Havoc stays away from the distance and fights with him. When the boss's blood drops below 50%, he will change his weapon and enter the second stage. You can move to a place farther away from him so that you won't lose DPS by dodging his attacks. This little maneuver will also increase the speed at which you can kill him.
After defeating him, pick up the drop and head into town to find Nessa and Tarkleigh to buy the required hole-colored link equipment, Gems, and shoes with movement speed (RR). You can prepare your filters in advance. (e.g. B-B-B|Movement Speed ctrl+c to copy them and open the store ctrl+f+v)
Havoc should have three green holes in his gear, a two-consecutive green hole (G-G), Galvanic Arrow, and Momentum Support, which will be your main damage skill for a long time. The other green hole is for Burning Arrow for single-target.
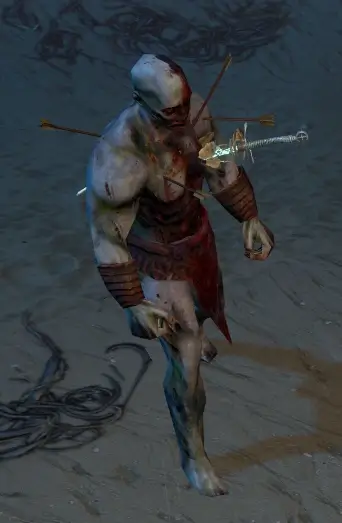
Hailrake
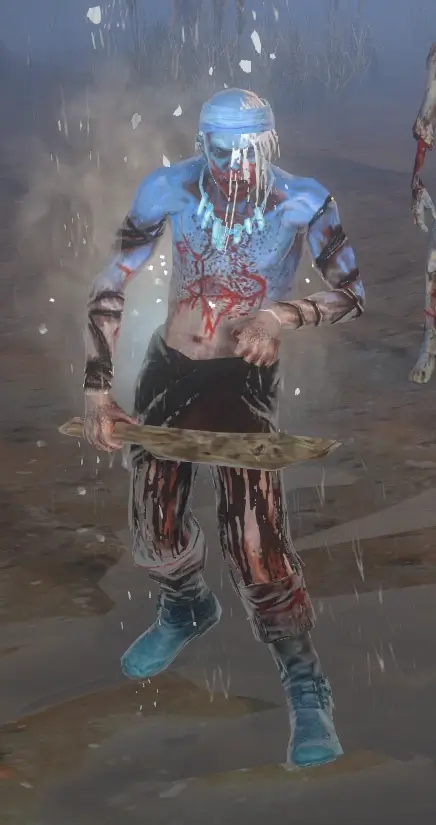
Get the Bird's Egg, and then complete the Medkit quest. Birds’ Egg quest is on the Four Grade map where many monsters can help you level up very effectively. After leveling up, you will complete the Medkit quest with better efficiency. Havoc makes a small mistake when doing the Mdkit quest. Instead of using the Burning Arrow to ignite, he chose the Galvanic Arrow.
When battling with Hailrake, staying close to him will prevent him from using Glacial Cascade, and you can also shift every two attacks to avoid damage.
Return to town to get your quest rewards of Potion of Speed and Mirage Archer Support, and purchase the Shrapnel Ballista. If you have no Iron Ring, buy one to replenish your DPS. And since you've already purchased the Shrapnel Ballista, you can choose Sniper's Mark and Dash as quest rewards. What if you have no good weapons? Buy a 1.5 attack speed Triple Green Hole Bow from the town, as well as a 3 link of two Green and one Red Chest Armor breastplates to prepare for the next skills.
From now on, your skill connection will be Galvanic Arrow + Mirage Archer Support, and you need two green holes for Sniper's Mark and Dash. It’s necessary for attacking BD to prepare Essence without a good weapon. After killing Essence, Havoc got a bow with 18 Hit, 6% attack speed, 2-5 base physical damage, and 18% physical Damage.
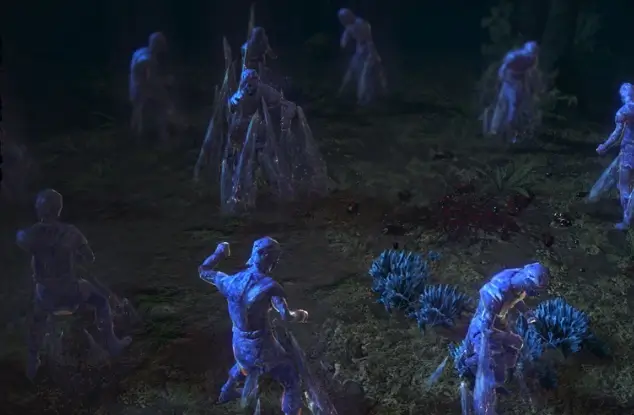
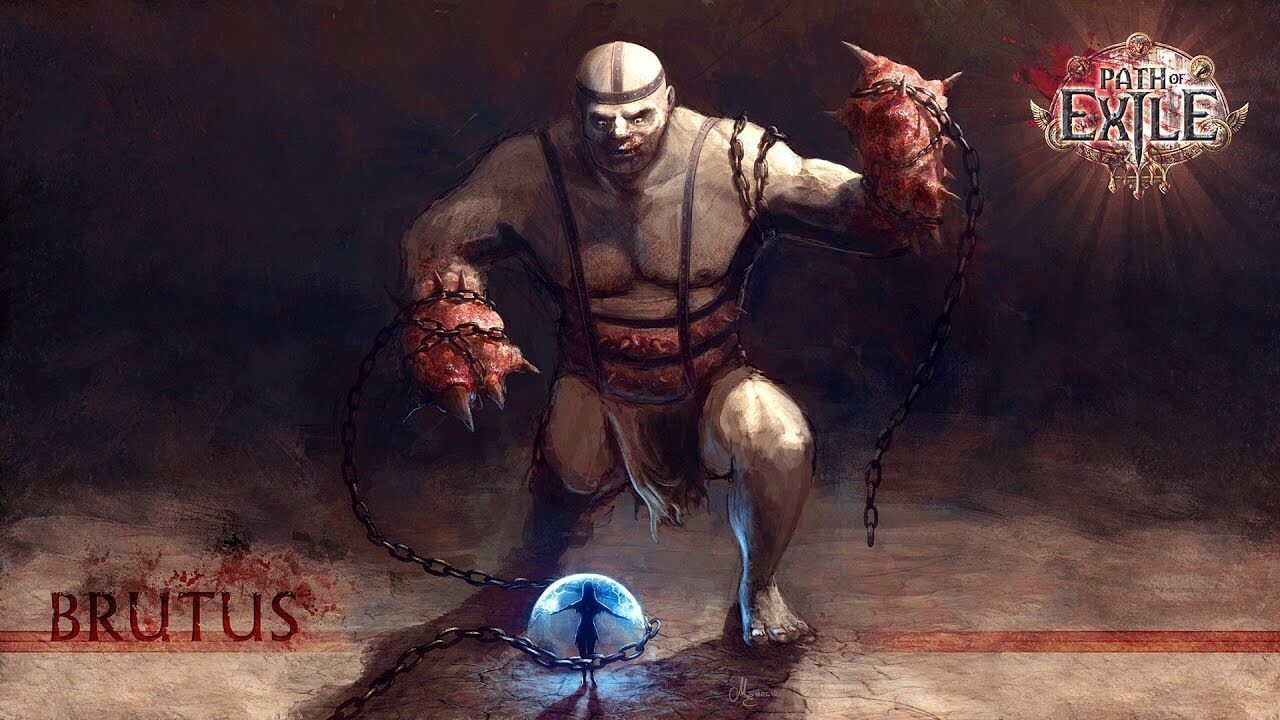
Brutus
Afterward, Havoc went to the prison, teleported back to the town, entered the portal left in The Submerged Passage, got into The Flooded Depths from The Submerged Passage, and completed the Black Abyss Crisis quest.
After killing the boss, Havoc received Manaforged Arrows Support as the quest reward and went to the Skill Gems Store to buy Frostblink, which can increase his movement speed. Tapping primal spirit in the skill tree, Frostblink will be available. Never forget to prepare a Blue Hole to combine Manaforged Arrows Support with Burning Arrow.
![]()
Return to the prison. Once you complete the Ascendancy here, it will be time to challenge Warden on the upper level of the prison, which is very easy to defeat. Drop three Shrapnel Ballistas and let the Totem attract hate. The only thing you need to do is deal damage at full power. After killing Warden, you can click back to the Character Page. Then teleportation will open automatically.
Go back to the town, clean up your backpack, and choose the Blink Arrow as a quest reward. Buy Chance to Bleed Support or Added Cold Damage Support, depending on your current armor color. Then you can get a triple Shrapnel Ballista (Shrapnel Ballista + Momentum Support + Chance to Bleed Support/Added Cold Damage Support). To activate the explode ability, use the War Banner aura skill, which provides a brief burst of Adrenaline. For Chapter 1, you should prepare a blue slot for Frostblink and a red slot for War Banner. Blink Arrow and Frostblink are independent, so you can equip them together and use them as often as possible to increase your movement speed.
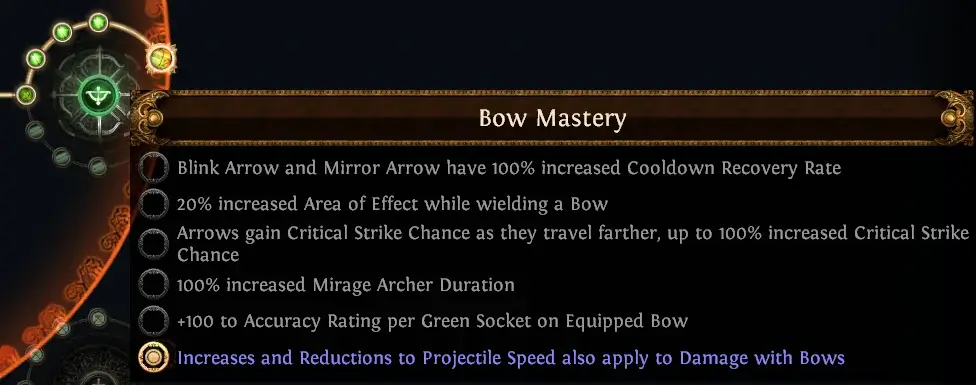
In the early stage, the damage is essential for progression. Any damage skills can save you time to pass the Chapters. After having the above skills, choose to get the Precise Technique that allows you to have 40% extra damage when hit over life, though it will let you make no critical anymore. Stacking a high rate of critical hits in the early stage is impossible, therefore, this skill is very beneficial. Additionally, after acquiring Bow Mastery, your hit rate will rarely be lower than your life. After you prepare these skills, all the monsters are one-hit kills.
Cpatain Fairgraves
After following the storyline quest to The Cavern of Wrath, you should return to The Ship Graveyard, find and kill Captain Fairgraves, and then return. Havoc was unlucky here. He spent a long time searching for Captain Fairgraves, resulting in him returning to town twice to replenish consumables.

Merveil
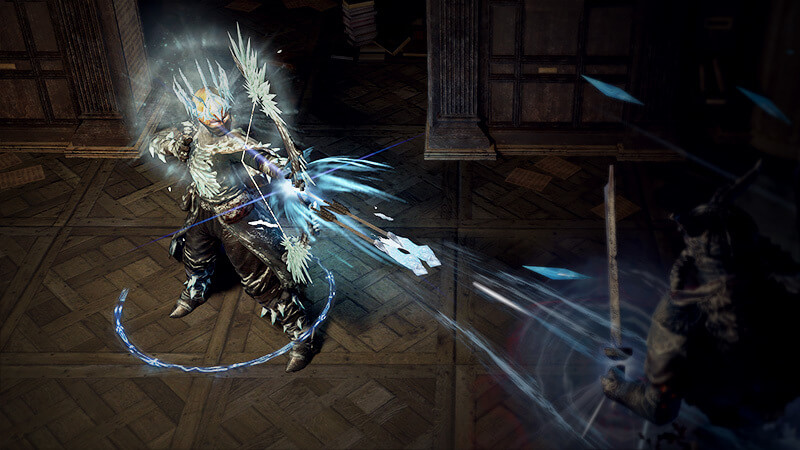
Claiming the quest reward, we are going to challenge the final boss Merveil, the Siren, whose reward is a skill gem. Choose Rain of Arrows, the main skill for the rest of the game. So far, we already have three sets of damage skills:
- Rain of Arrows + Mirage Archer Support;
- Shrapnel Ballista + Momentum Support + Chance to Bleed Support/Added Cold Damage Support;
- Manaforged Arrows Support + Burning Arrow + Galvanic Arrow.
Havoc finished Chapter One in about 20 minutes. For the average player, the time is about 40 minutes. The combination of Shrapnel Ballista + Manaforged Arrows Support + Rain of Arrows lets Havoc kill the Chapter One boss in no time.
Conclusion
This article is not for the average Deadeye player to race Havoc, but rather to better understand the various Deadeye match-ups and play-styles, slowly improve your gameplay understanding, and make game experience with the plot more fluid. As the first chapter of the Deadeye build guide, we need to fully understand how Havoc operates and the rhythm of play, after mastering these, the content of the next chapters will become much easier.